Get Started
Thanks for purchasing School App
Please read the documentation carefully, and if you have any questions, please feel free to contact us. Most pages are accompanied by a video tutorial, it's recommended to check both, the video and the written Documentation.
Must Read this:
After purchase, it is suggested to setup the Web APIfirst for smooth functioning of the application.Web API is in PHP 7.0 and it will work on all hosting packages
Android Configuration
In order to start configuration, you need to install Android studio and the 'Java SE Development Kit'. First download the android studio from here Android Studio
SDK Manager
The installer, as also shown in the video should automatically download and install all required components. If you want to do manual setup, download at least the following components using the SDK manager
- SDK tools
- SDK platform Tools
- SDK Build Tools
- Google Play Services
- Android Support Library
- Google Repository
- Google USB Driver
You can download these SDK, if not installed already, using the SDK manager SDK Manager after this, you can open Android Studio and continue.
Importing Android Project
To import the template, simply open Android Studio and import/open the template. Make sure to wait for all the processes (the Gradle Build) to complete before continuing to the next step.
Addition steps
Additional steps are required sometimes if the Gradle Build fails. In some cases additional components are needed, Android Studio will ask you to do download these additional SDK components in the 'messages' tab, simply follow the instructions provided to install and download the additional components.
Change Bundle ID
Change App Name
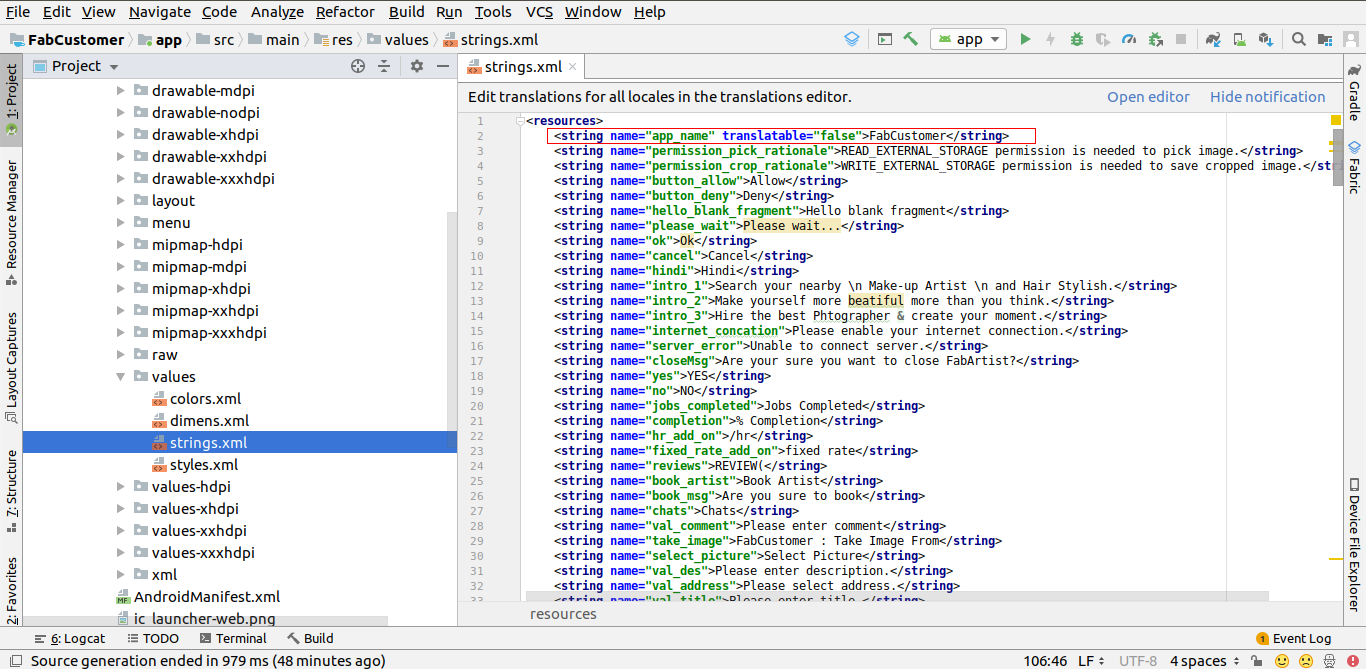
Above illustration demonstrates the process to change the name of application.
Change Color Scheme
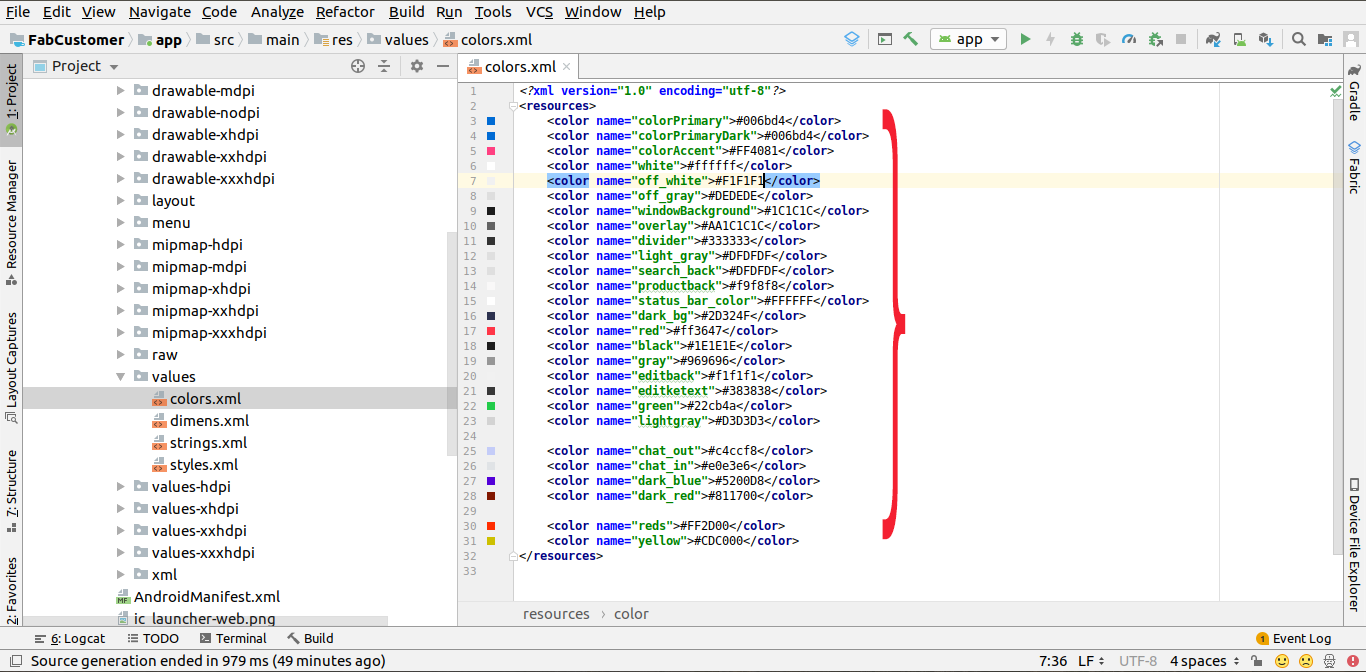
Above illustration demonstrates the process to change the Colors of the application.
You can change your apps colors to create a custom look. The primary color is the color of the Toolbar, some buttons and headers. The primary dark color is used for e.g. the status bar. Get more color from here material.io
Change App icon
Now you need to put a png file with your icon named 'ic_launcher.png' in the following folders:
- res/drawable-mdpi - with a size of 48px x 48px
- res/drawable-hdpi - with a size of 72px x 72px
- res/drawable-xhdpi - with a size of 96px x 96px
- res/drawable-xxhdpi - with a size of 144px x 144px
this URL will help you resize your images or event create new icon to your app Launcher Icon Generator
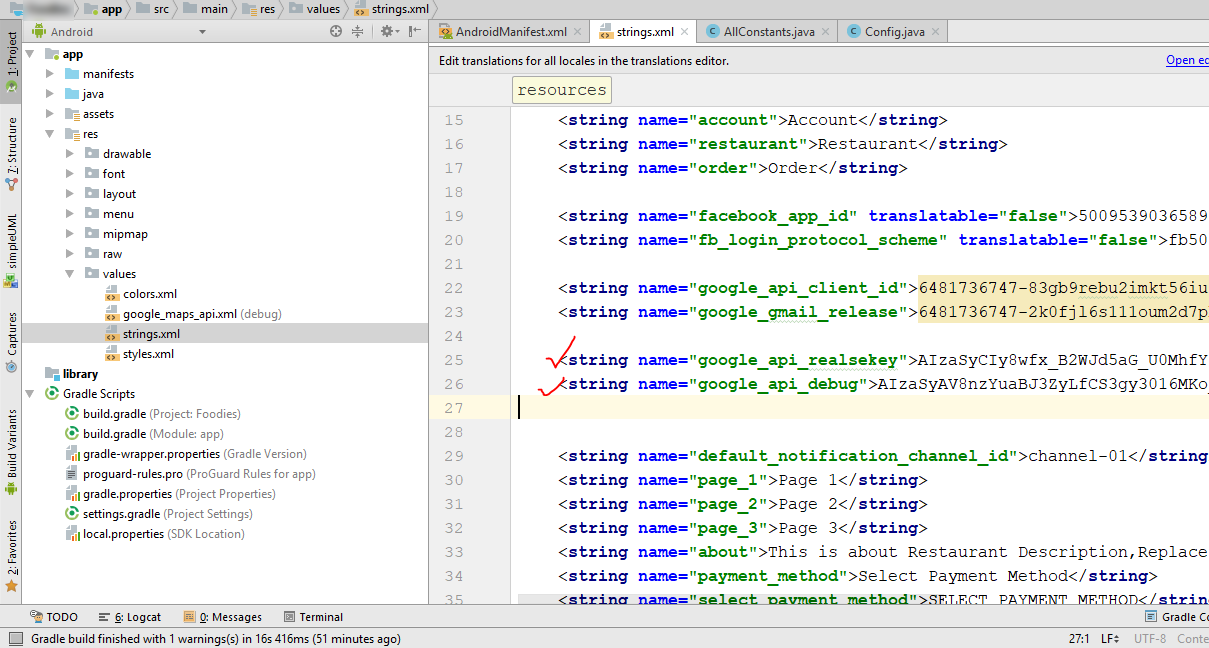
Change API Links

Above illustration demonstrates the process to change the Rest Api link of the application
Firebase Configuring
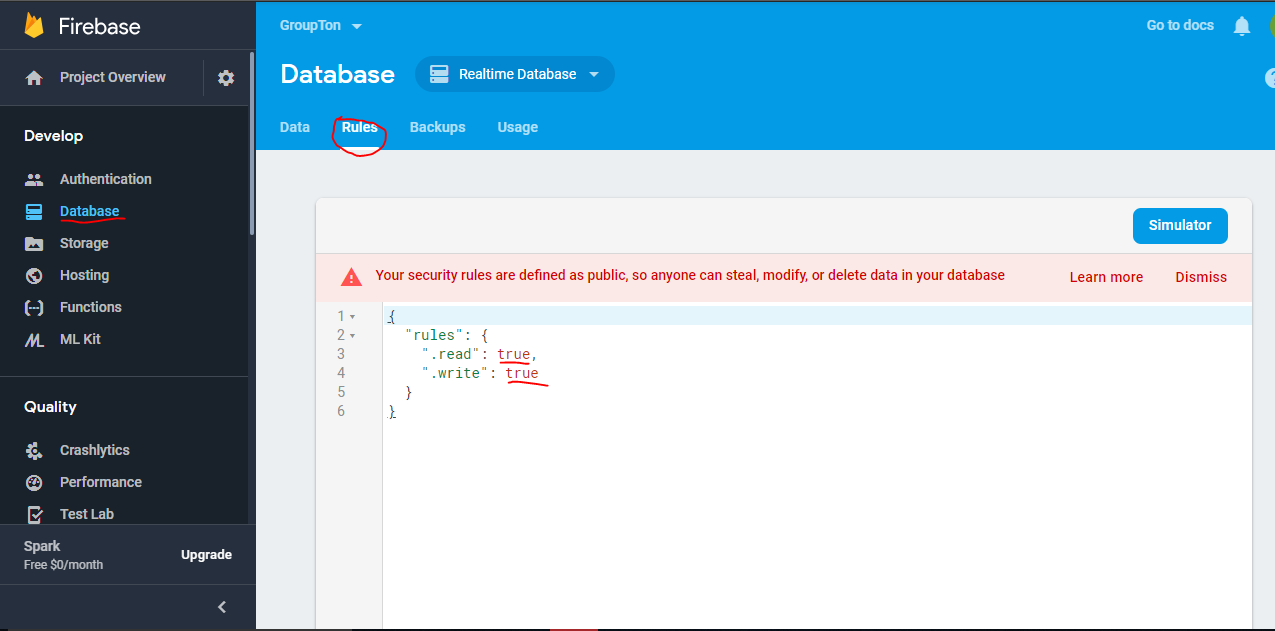
Change Firebase Db Rules
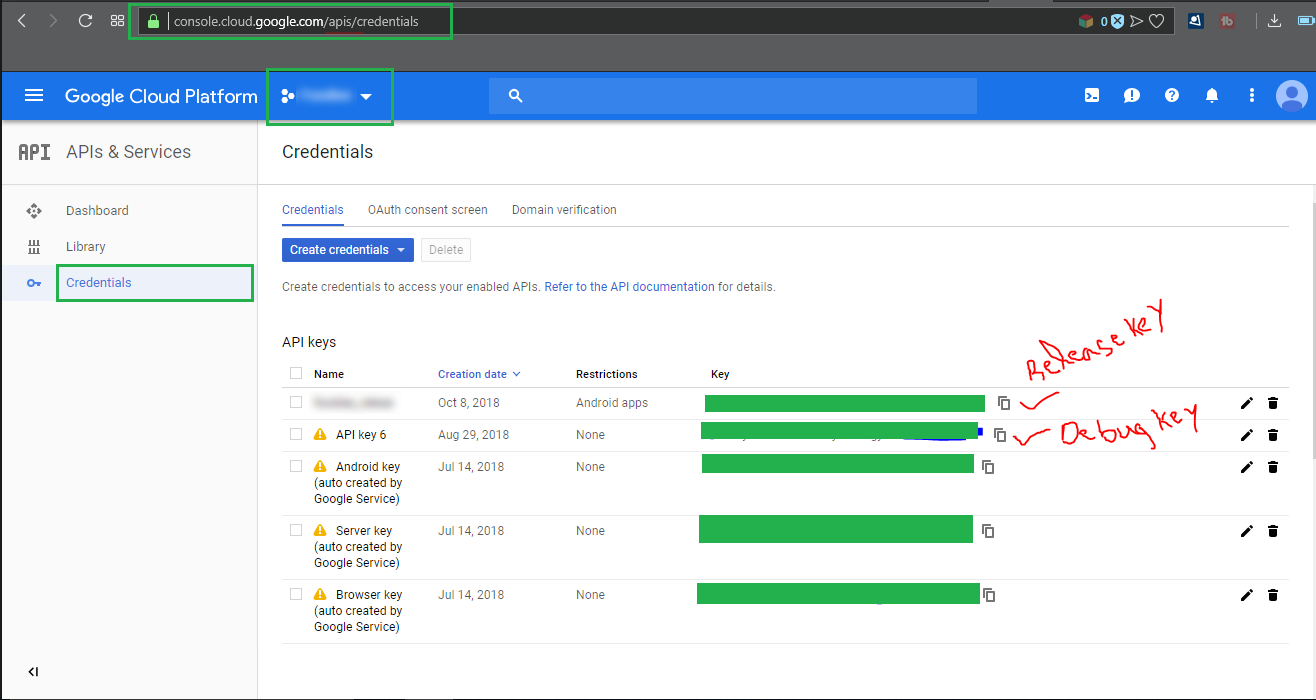
Debug and release Key
Before going to the next step, you have to learn about the Sh1 key for both debug and release. If you are in the development mode then you will use the debug sh1 key but when you are going to publish the app on play store, you will have to use the sh1 key of Release key
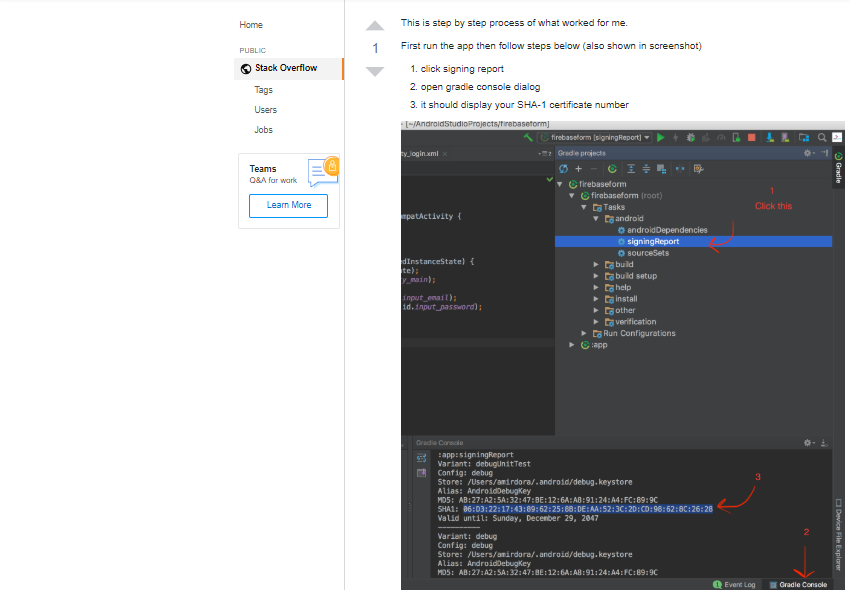
Debug Key
Signed or release key
To get sh1 released, follow below two steps.
Step1: You have to generate your own app signing key
Step2: Get the Sh1 key of app signing key
Step 1: Create your own app signing key
Create signing keyStep 2: Get the Sh1 key. Run the below command on Command Prompt
Also demonstrated all the steps in video and screen shots
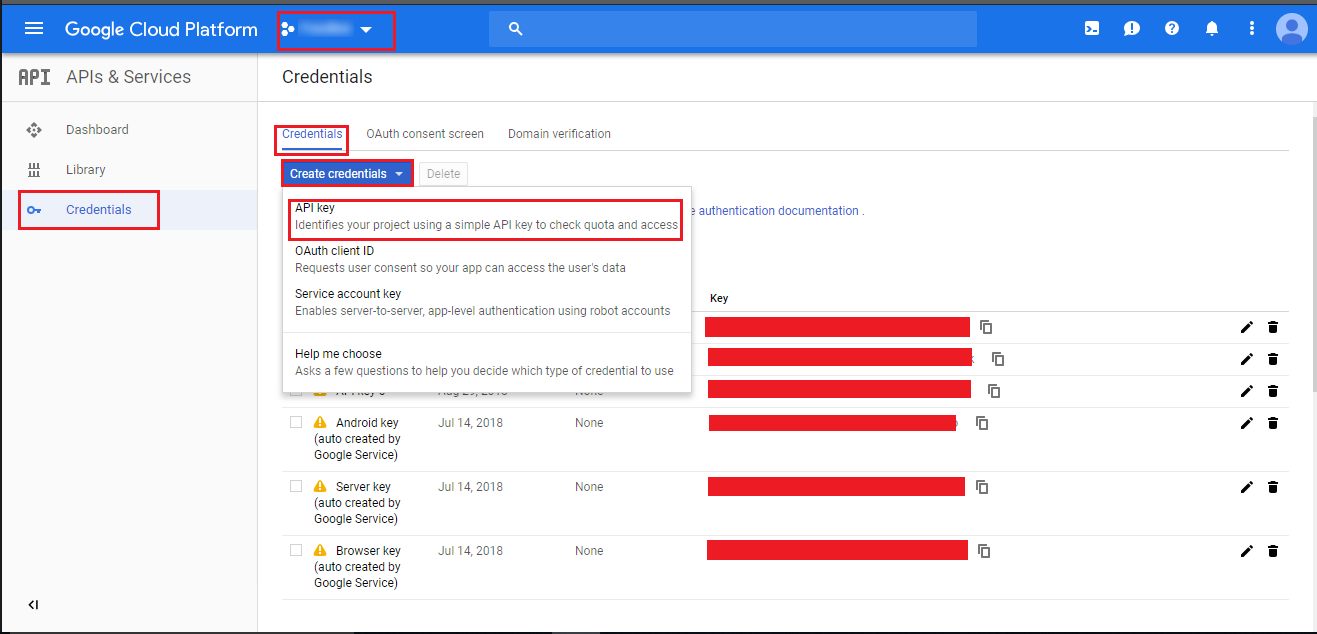
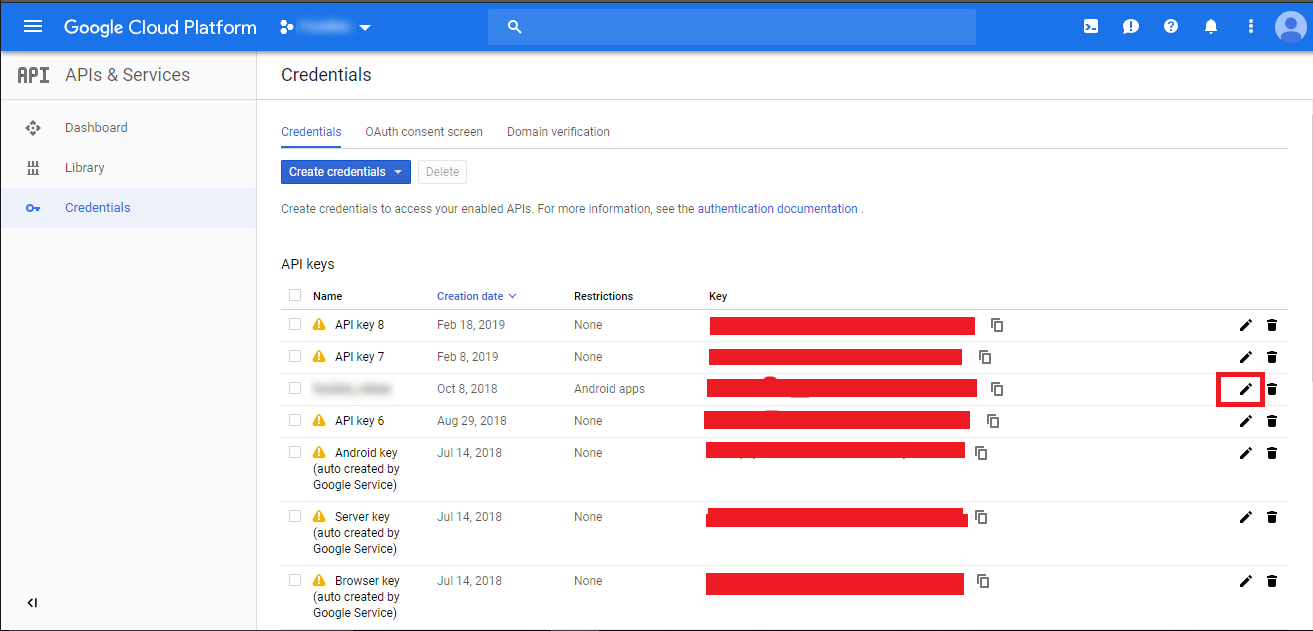
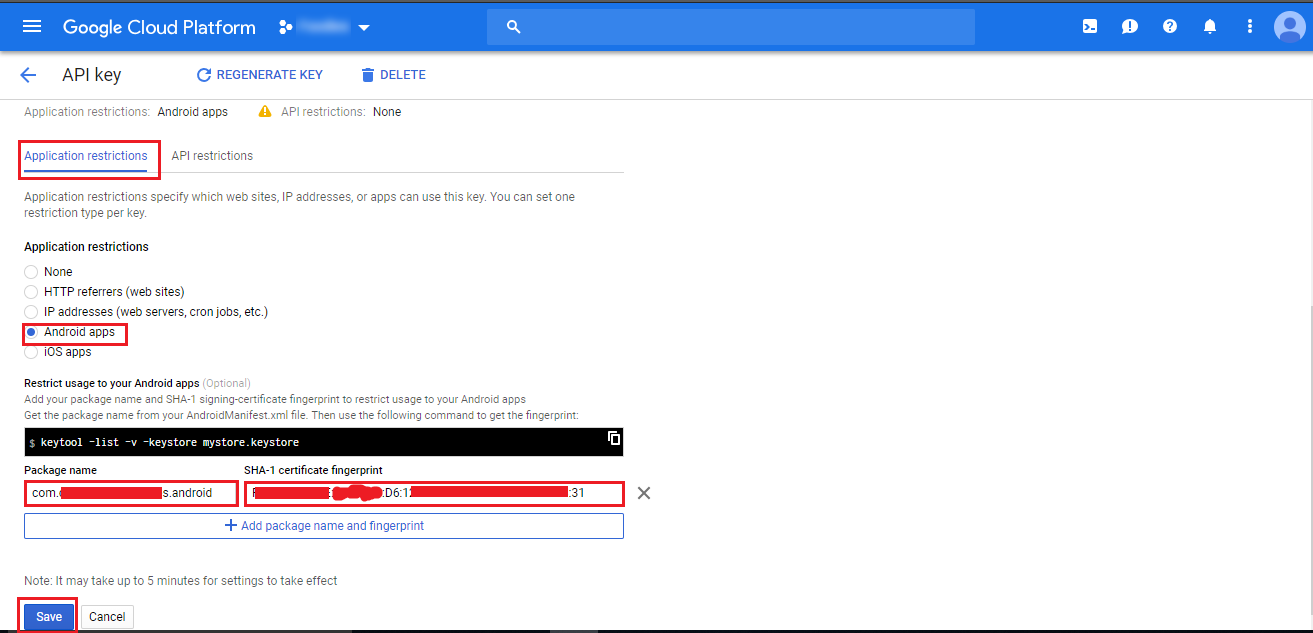
Google Map Configration
First you have to add Firebase account in your application/project and then only you will be able to see your project on Google API Console.
Web Configuration
Installing School App in PHP
Before getting started, please make sure your web server meets all the below pre-requisites:
- PHP Version 7.0 + advance
- CURL Extension (enabled on most hosts by default)
- MySQL extension (enabled on most hosts by default)
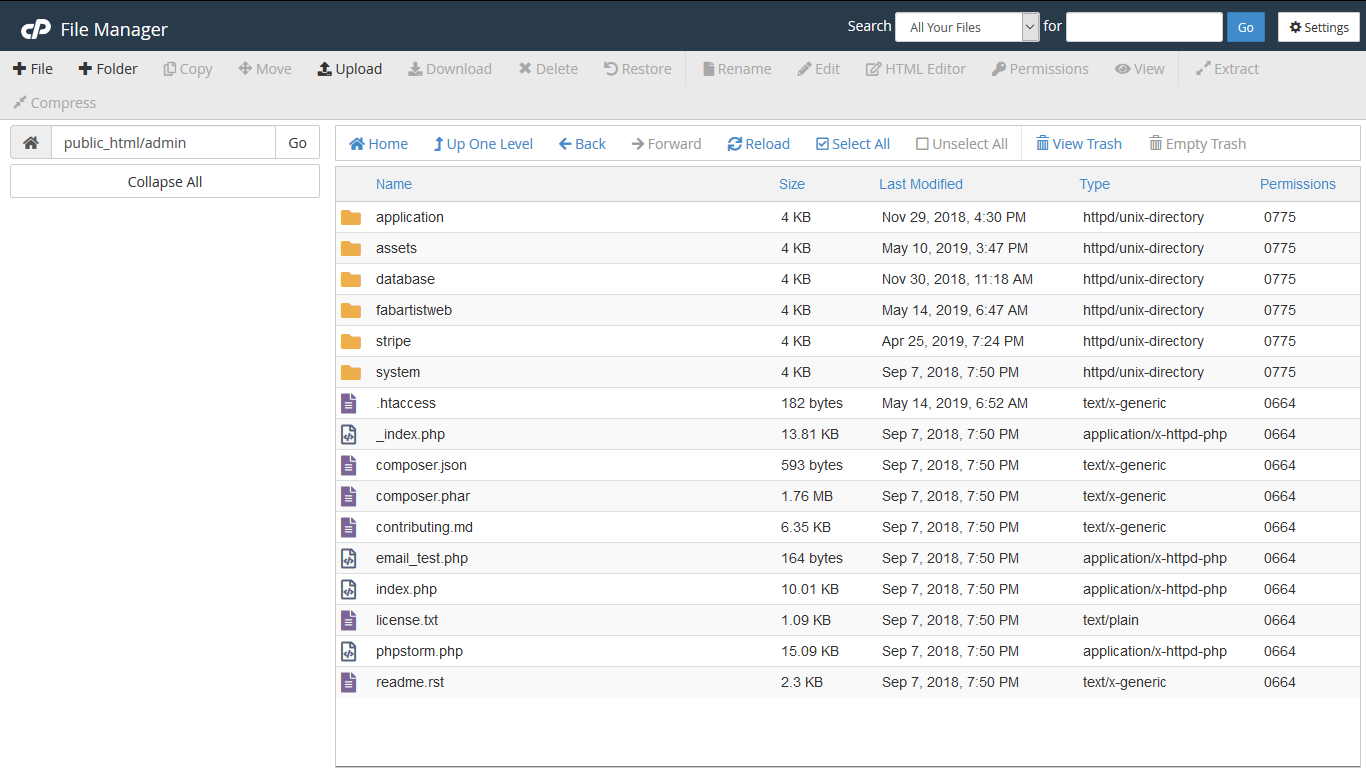
Deploying the PHP Application on a Remote Web Server
Deploying the PHP Application on a Remote Web Server
- Upload Zip file of the project in folder public_html on server and extract it. Now you will be able to see your directory as demonstrated below.
Database Setup & Configuration
Extract the project_name.zip file on your local apache server.
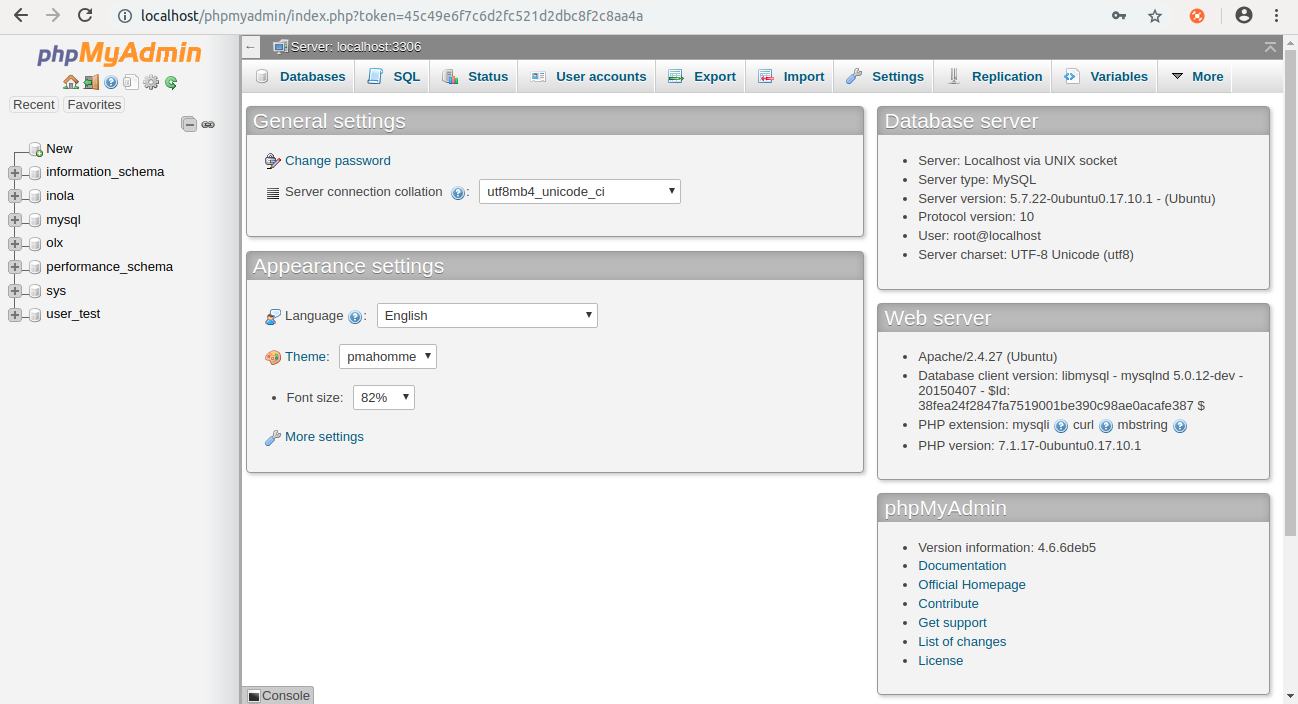
Create a new database on the phpmyadmin.
- Open the browser & type this url http://localhost/phpmyadmin/
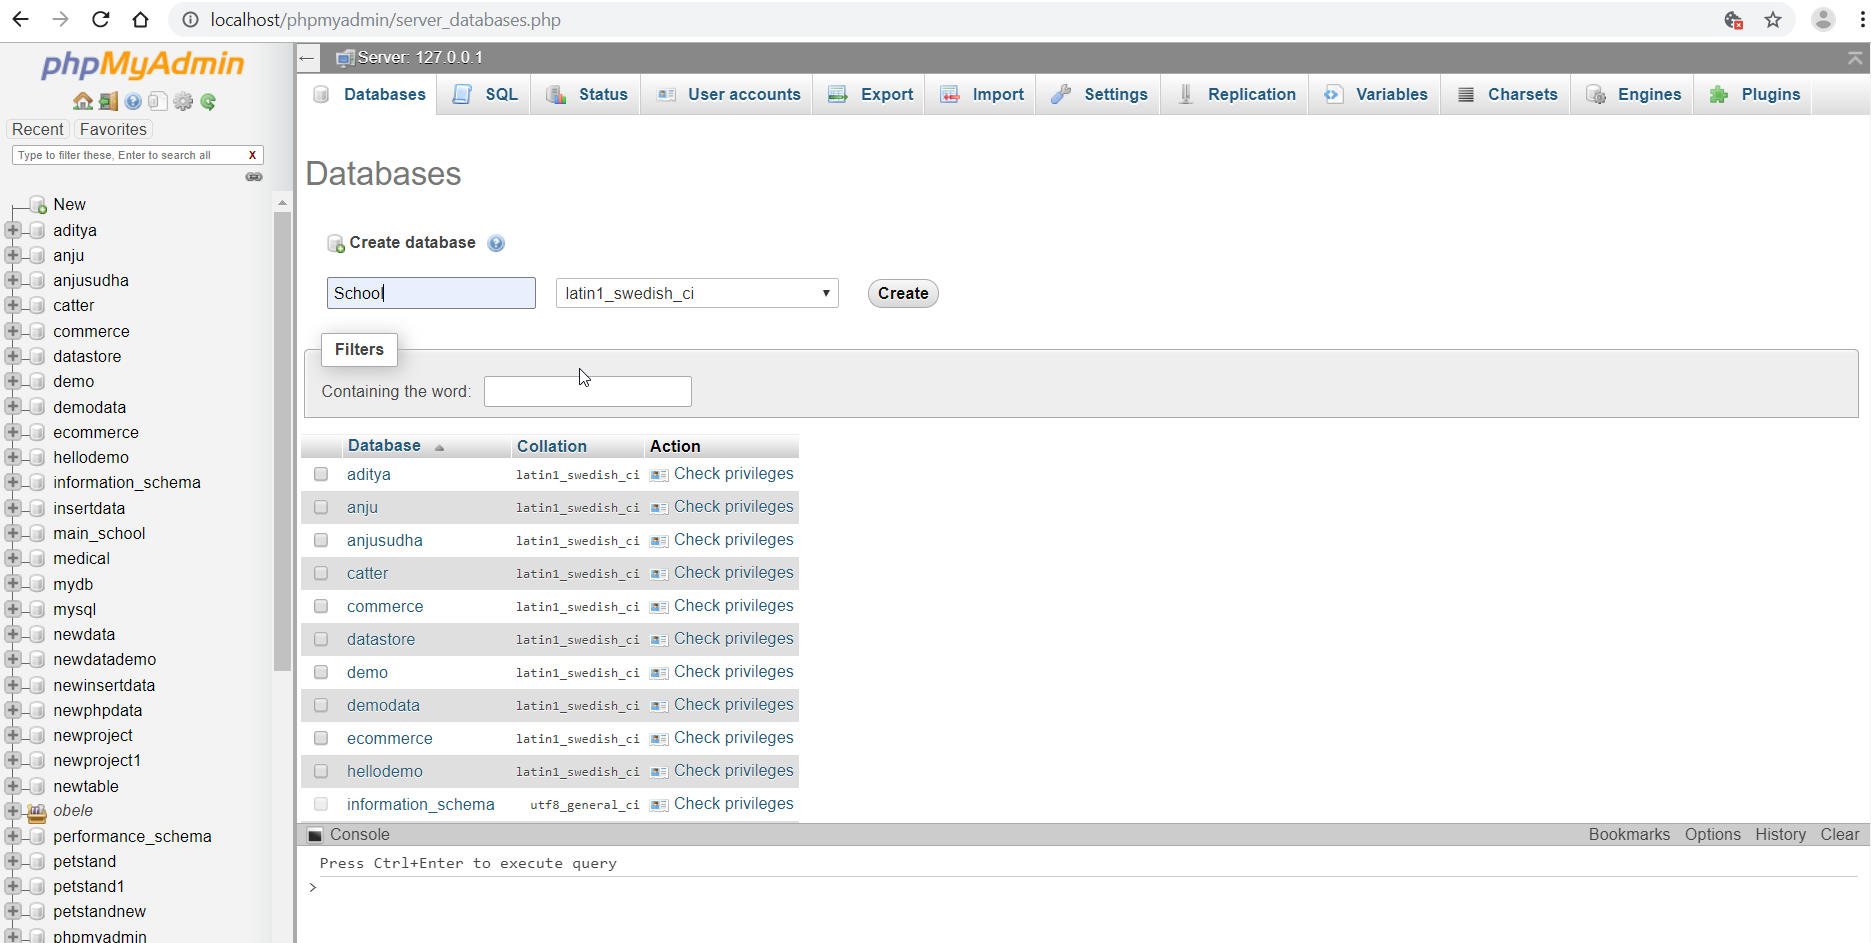
- Click on New option to create new database.
- Enter your database name as below & click on create button.
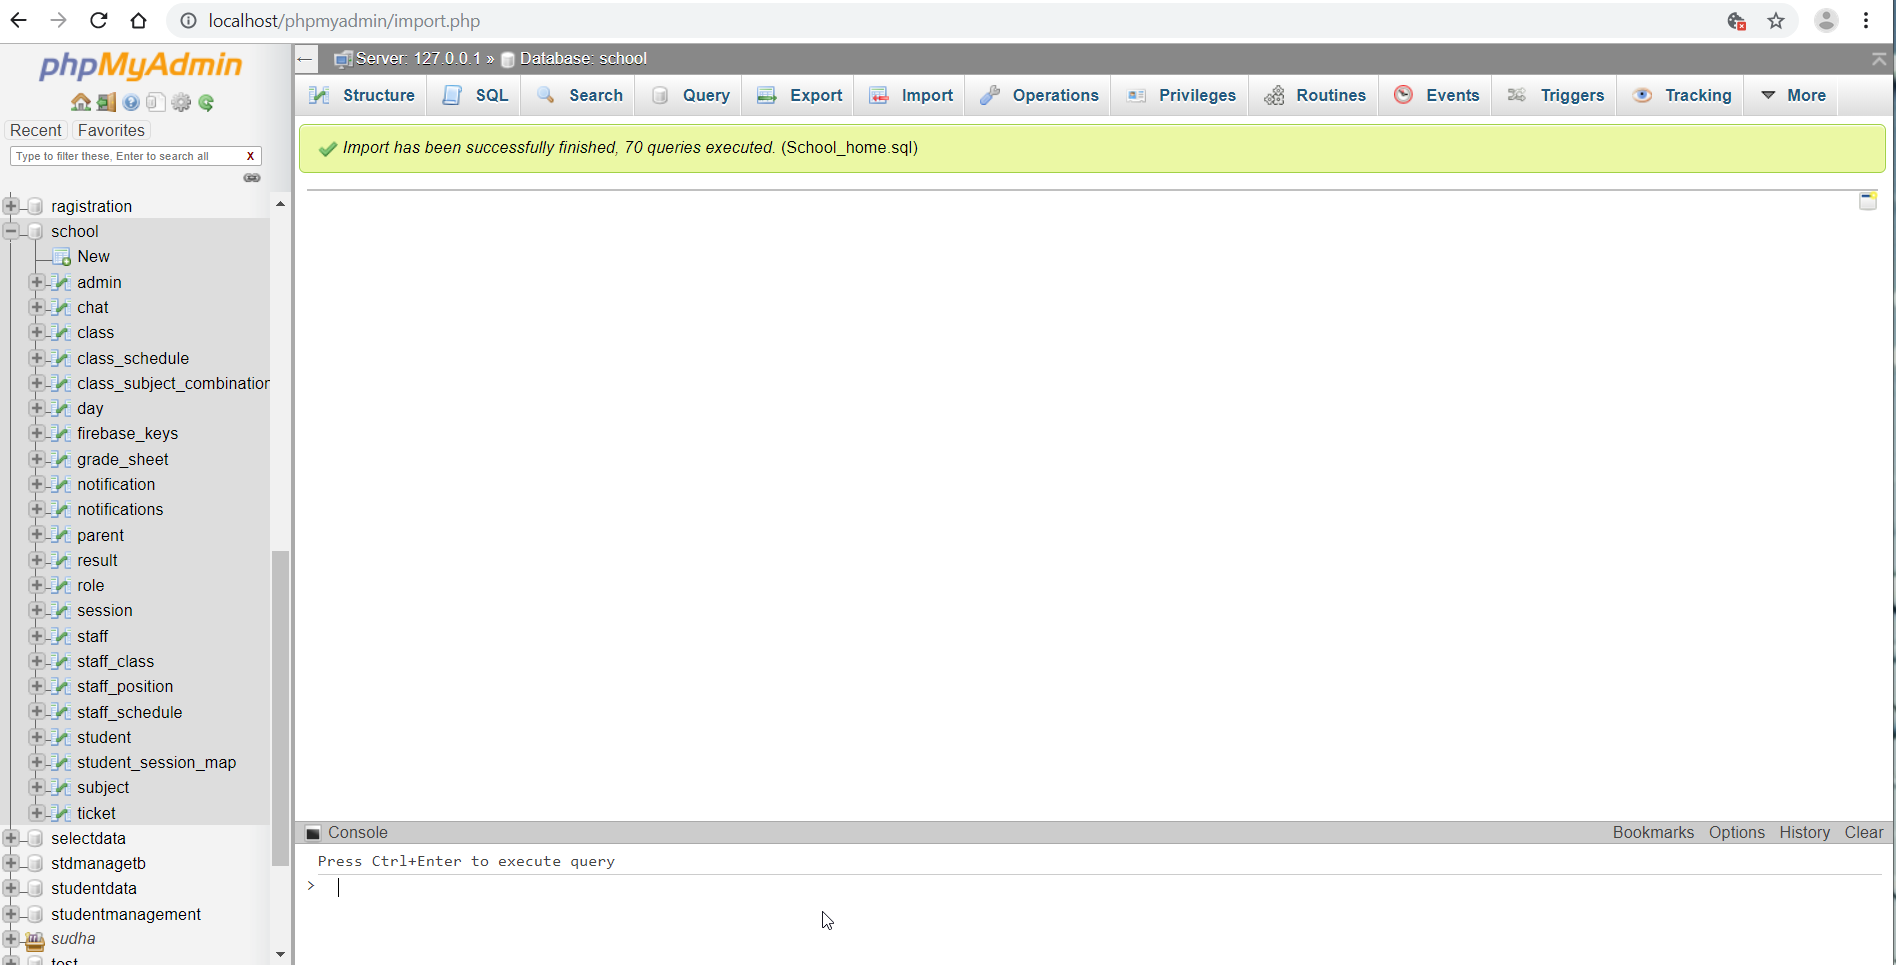
- Import sql file in your database by going into phpmyadmin
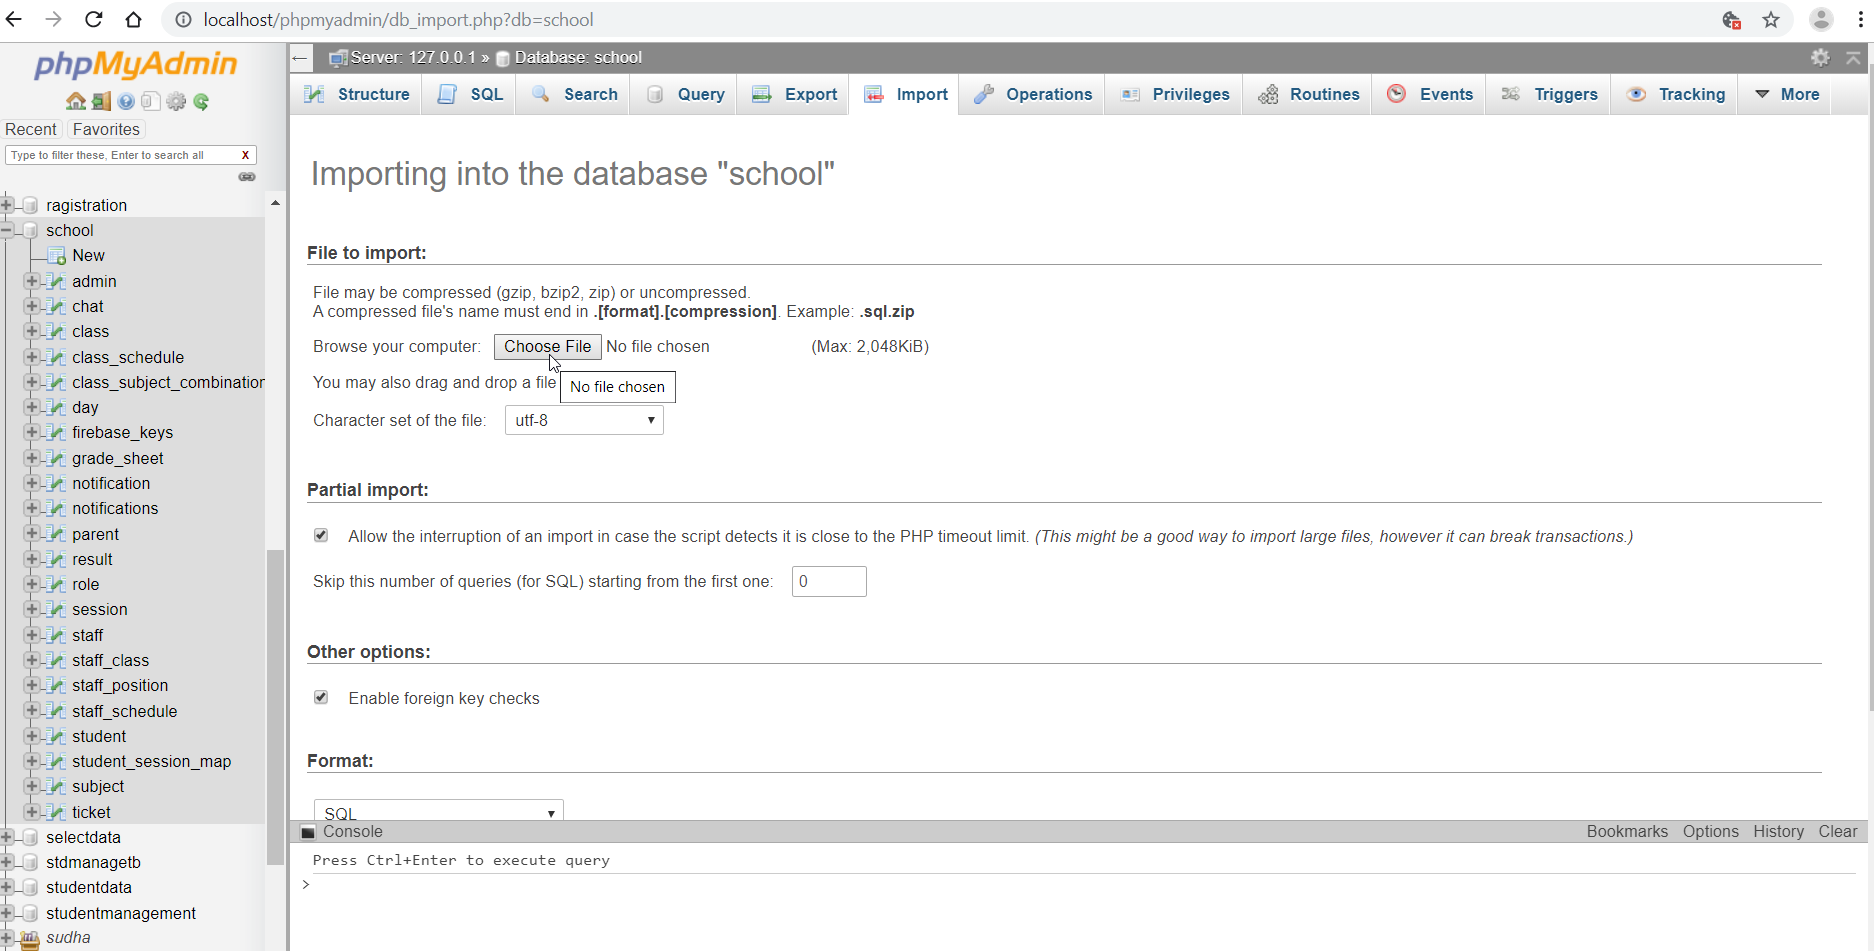
- Import sql file successfully!
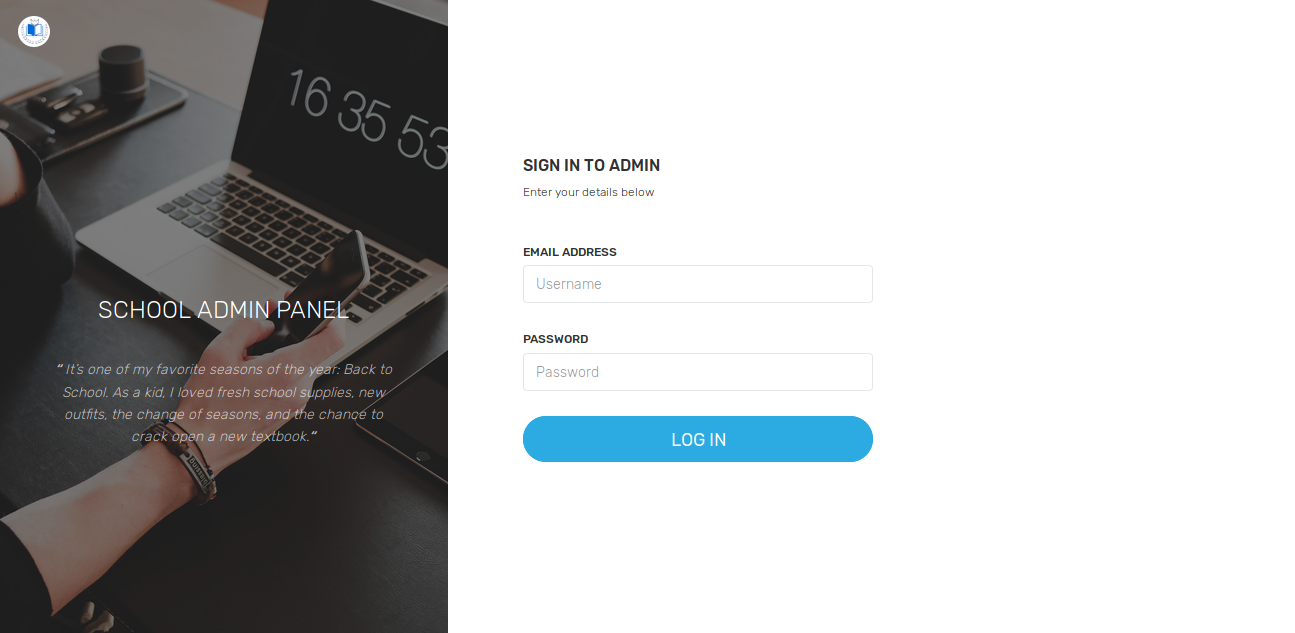
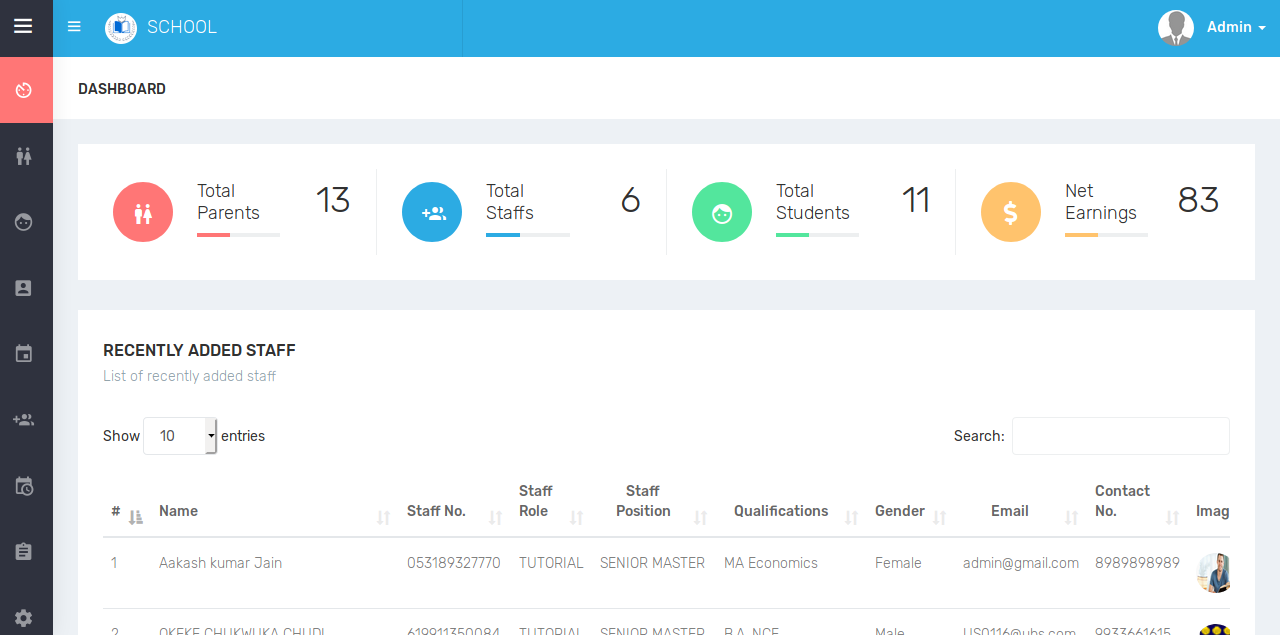
Admin Panel Setup
Final configuration
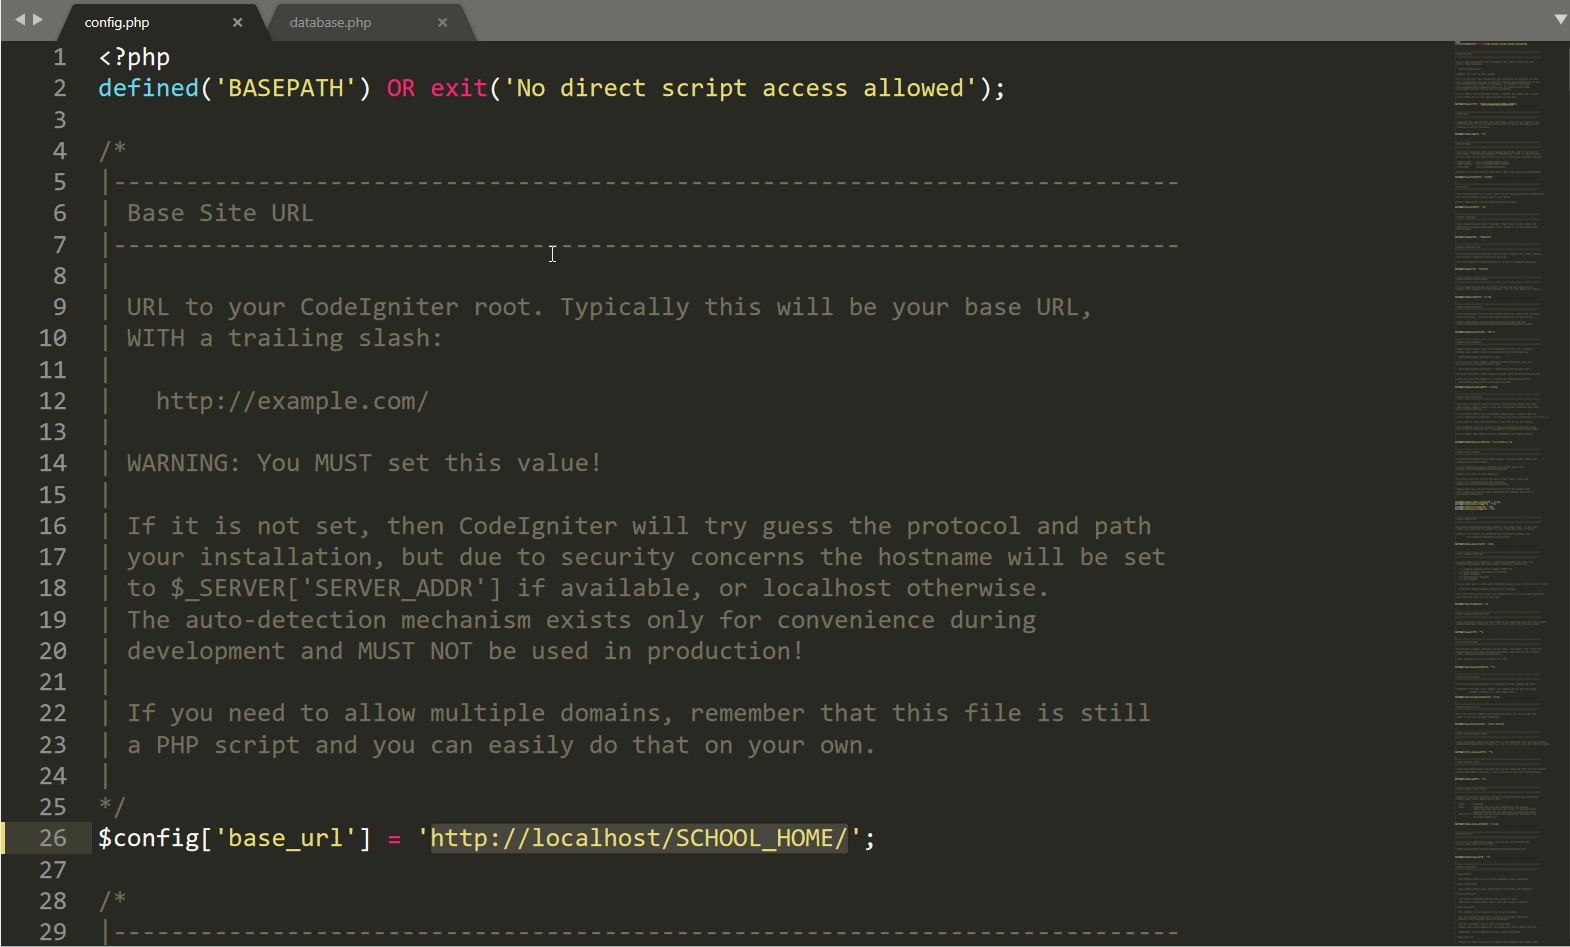
- • Change the base URL:- application/config/config.php
- • Setup your database settings:- application/config/database.php
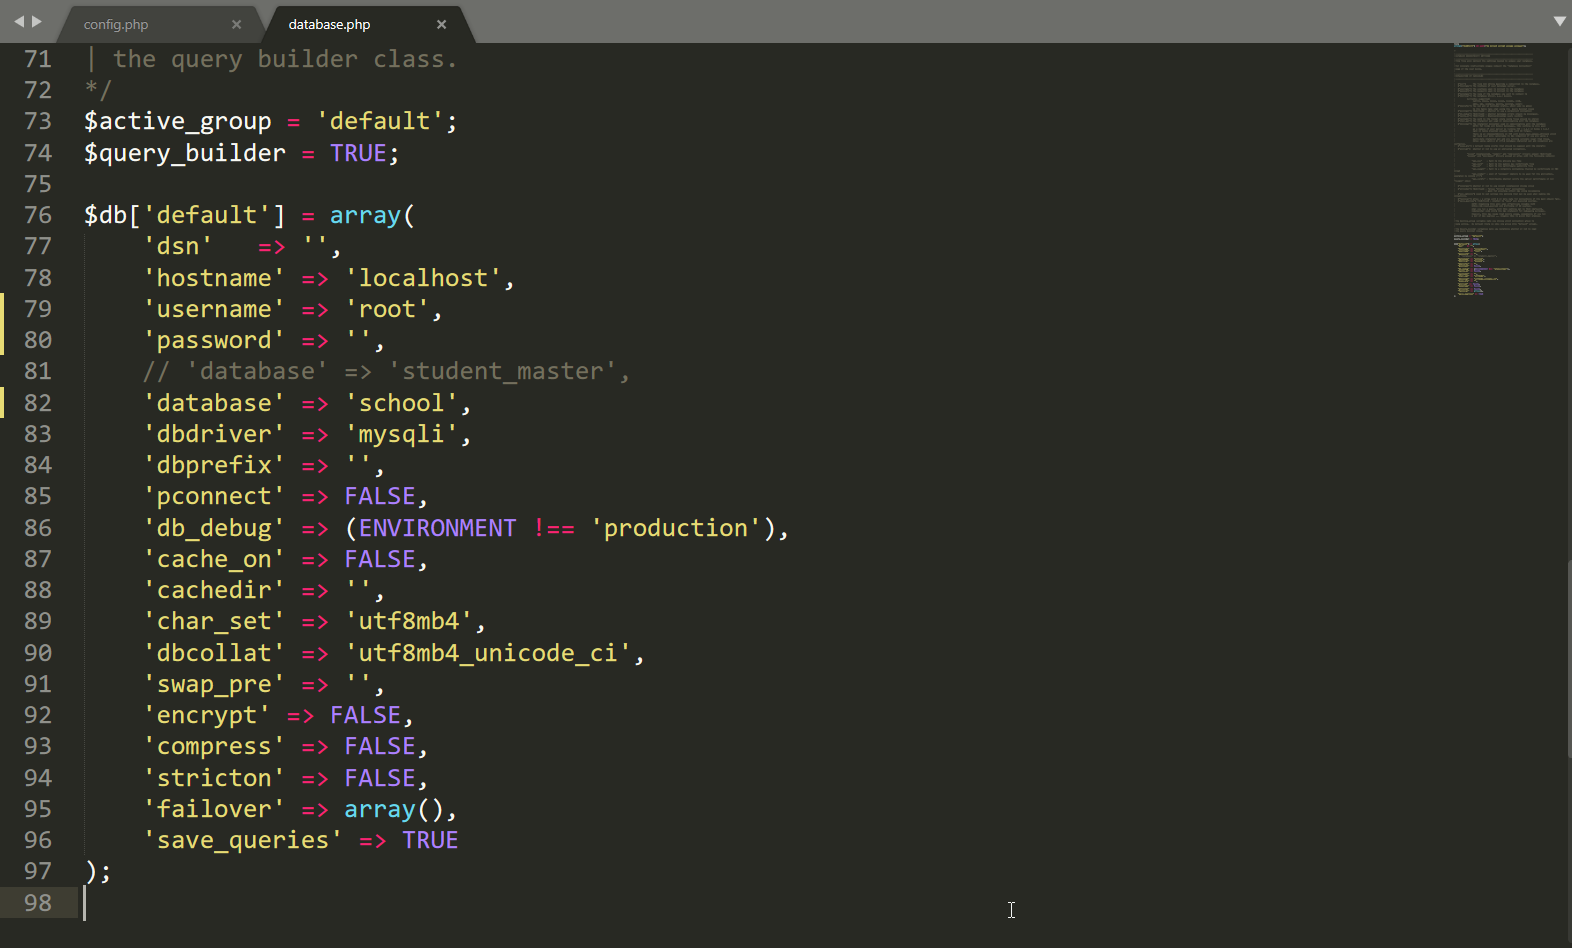
- 'hostname' => 'localhost',
'username' => 'root',
'password' => '123',
'database' => 'School', - Enter your host address to check the access web admin panel eg. http://domain.com/admin
Change Third Party APIs
You need following API keys for third party libraries to work.
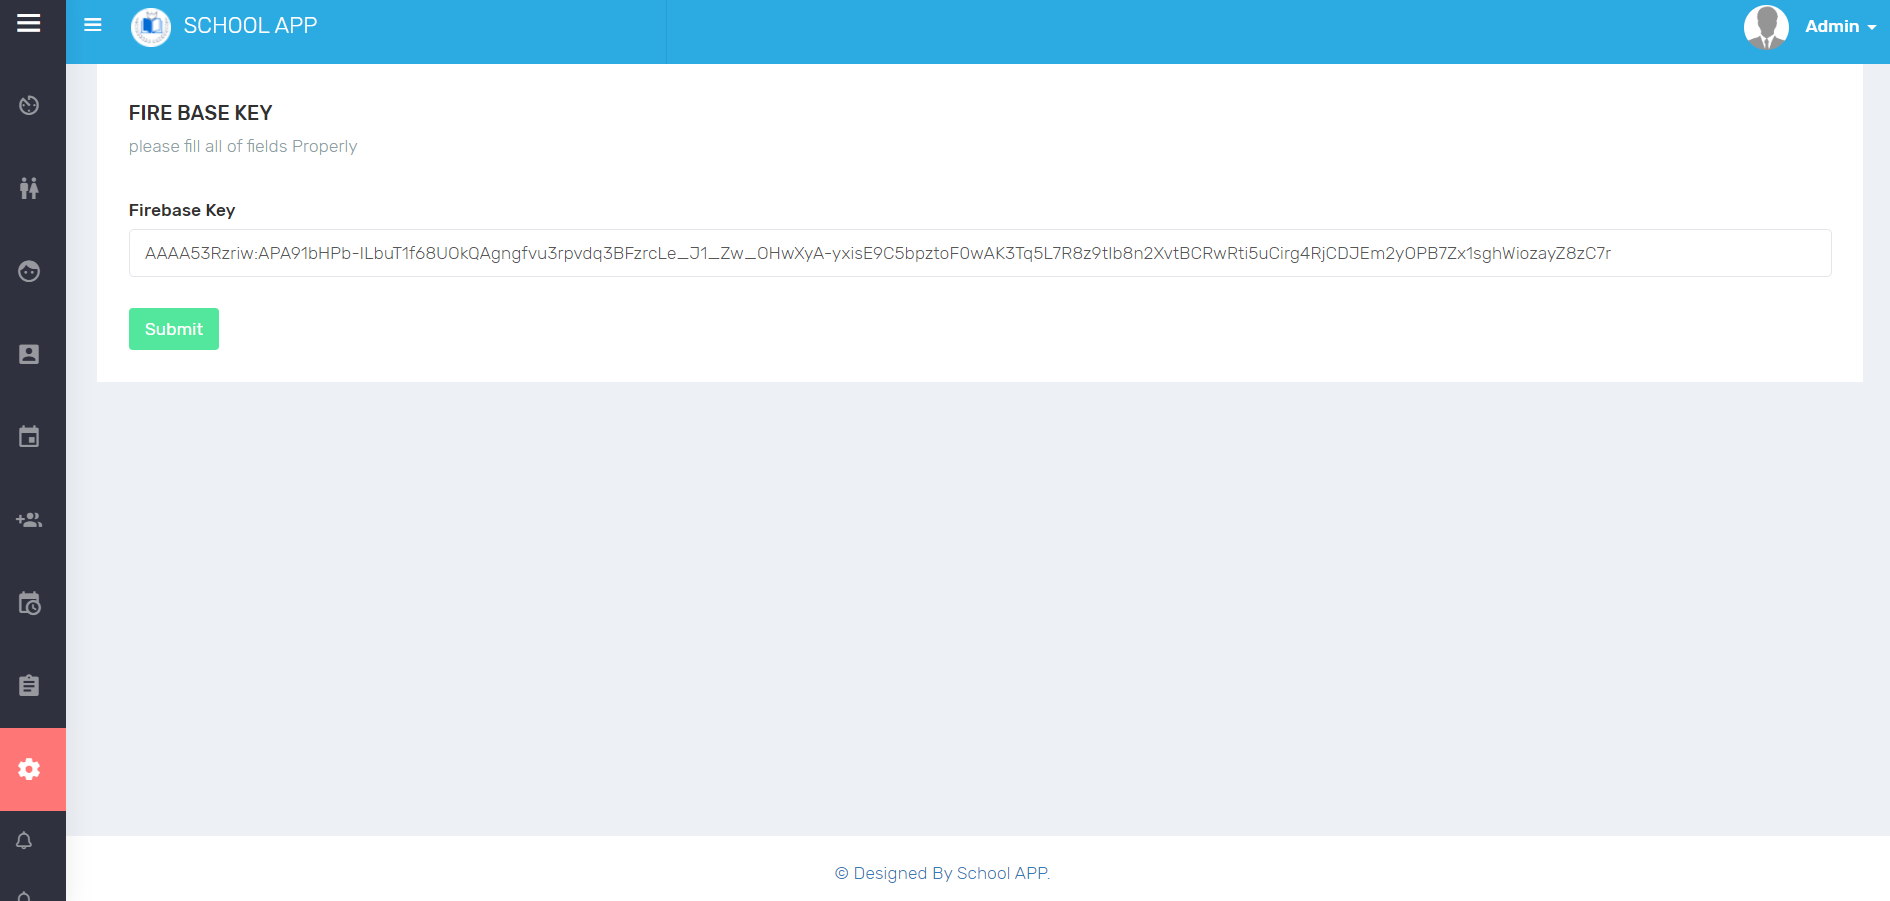
- Firebase Push Notification- This key will be used to generate Push Notification
- you need to create your project first Console Firebase Google
- You can find the API KEY in: (gear-next-to-project-name) > Project Settings > Cloud Messaging
- Enter your firebase key inadminpanel->settings->app settings as shown below
Setup Firebase Push Notification
Follow instructions OR Video:
Server Key is the API key
Errors & Solutions Log
If you're facing 404 error in setup of admin panel, Please check that your server directory have .htaccess file in it.